Blogging with Jekyll
I make this guide in recompense to the hours I wasted taking intro to web-development for granted.
Setting up a Jekyll blog is straight-forward for someone familiar with basic HTML and CSS. Forgetting all the basics didn’t help me personally but working with Jekyll was a good refresher in core concepts.
This will not be a comprehensive guide to Jekyll but more of a reference point for future projects.
Get up and running
Grab the perquisites
Refer to this for MacOS perquisites.
Refer to this for Ubunru and this for other Linux system perquisites.
With everything ready. Install Jekyll using:
gem install jekyll bundler
To create a new site, use:
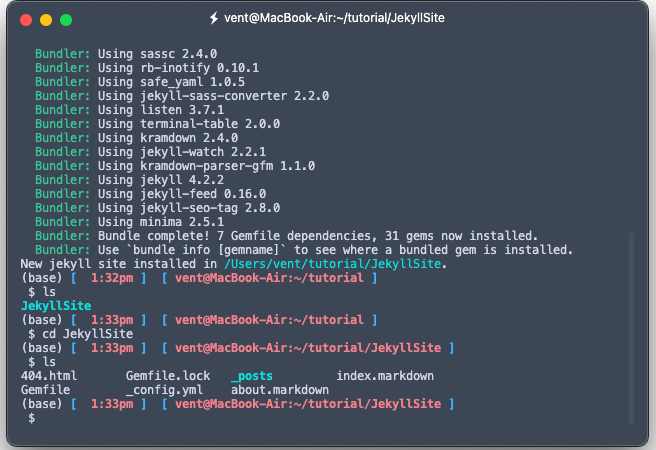
jekyll new JekyllSite
This will create the essential config, Gemfiles and directories required to run a Jekyll site.
You’re technically done! To view the generated site locally at http://localhost:4000

In a terminal run:
jekyll serve
Or to refresh the local web server to rebuild the site any time a change is made run:
jekyll serve --livereload
To build a static site for deployment run:
jekyll build
This will build a site at director _site.
Connecting Pieces
Jekyll makes use of Liquid, a templating language and Front Matter, snippets of YAML to connect variables and layouts stored in set directories created with the following naming convention _site.
Below is a brief description of what and where everything is.
- _config.yml: Provides the basic settings for the website. The website title, description and URL are stored here.
- _includes: Stores the modular components of the website e.g. the header and footer.
- _layouts: Includes the templates used by your website’s pages.
- _posts: Stores individual posts.
- _saas: Holds the scss files that define the css styling of the website.
- _site: Stores the files generate by Jekyll after executing jekyll build.
- _data: Stores data files used to separate content from source code.
Front Matter
Front Matter is a snippet of YAML placed between two triple-dashed lines at the start of a file.
---
layout: default
title: Tutorial
---
Front Matter can be used to set the variables of a page. This includes the basic information such as the title and layout of a page.
Objects
Predefined variables stored in the _data directory can be called as objects using double curly braces.
For a full list of built in Jekyll variables refer to Jekyll Docs
Tags
Tags are used to define the logic and control flow of a page.
The include tag allows content stores in the _include folder to be included in other pages.
Similarly, the content tag will place the contents of the posts stored in the _posts folder.
Styling
To set css styles to a particular page create a .scss file corrosponding to the page name of the page you want the style to apply to e.g. page.html -> page.scss
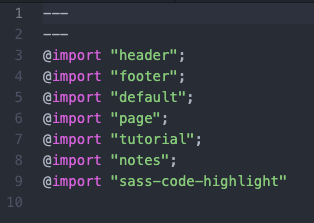
Import the style sheet to styles.scss file using @import.

Making posts
Live posts should be stored in a folder name with the regular naming convention _posts or similar. Jekyll posts usually follow the naming convention YEAR-MONTH-DAY e.g. 2022-09-06-sample post.md
Like other pages, posts can call on existing layouts using Front Matter.
Posting Jupyter Notebooks
Jupyter Notebooks can be converted to markdown or html files. Image files that are to be included in notebook markdown files need to be placed in the images folder found under the assets folder. A new subdirector can be created to organize images for individual projects.
Images are linked using the following method in markdown:

The object site.url is a variable set in the _config.yml file.
Scientific Equations
Mathjax is used to render scientific equations in markdown. The following source needs to be included in the websites <head> tag.
    <script type="text/javascript" async
      src="https://cdn.mathjax.org/mathjax/latest/MathJax.js?config=TeX-MML-AM_CHTML">
    </script>
Deploying the website on GitHub pages.
To generate the static site files, in a terminal within your website directory execute:
Jekyll build
Add, commit and push the final state of the directory to GitHub.
In GitHub head to your repositories Settings. Access Pages. Under Build and deployment select the correct branch where the final build files were uploaded.
Make sure to set the site url and other configurations in your _config.yml file to reflect the url of your github pages account e.g accountname,github.io/website.
Make sure the styling and navigation links of your website also reflect this.
That should be it!